

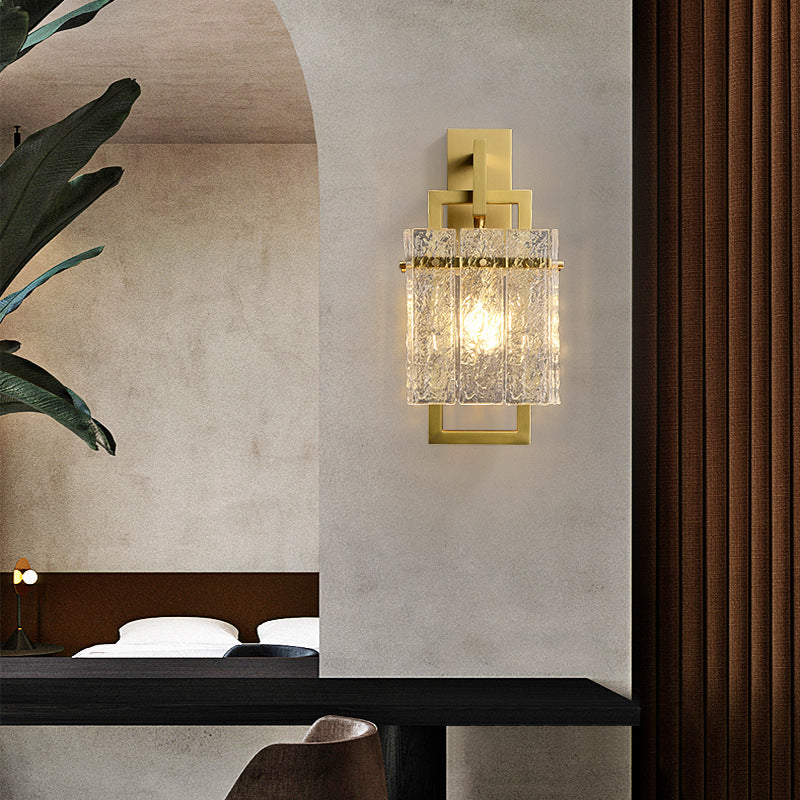
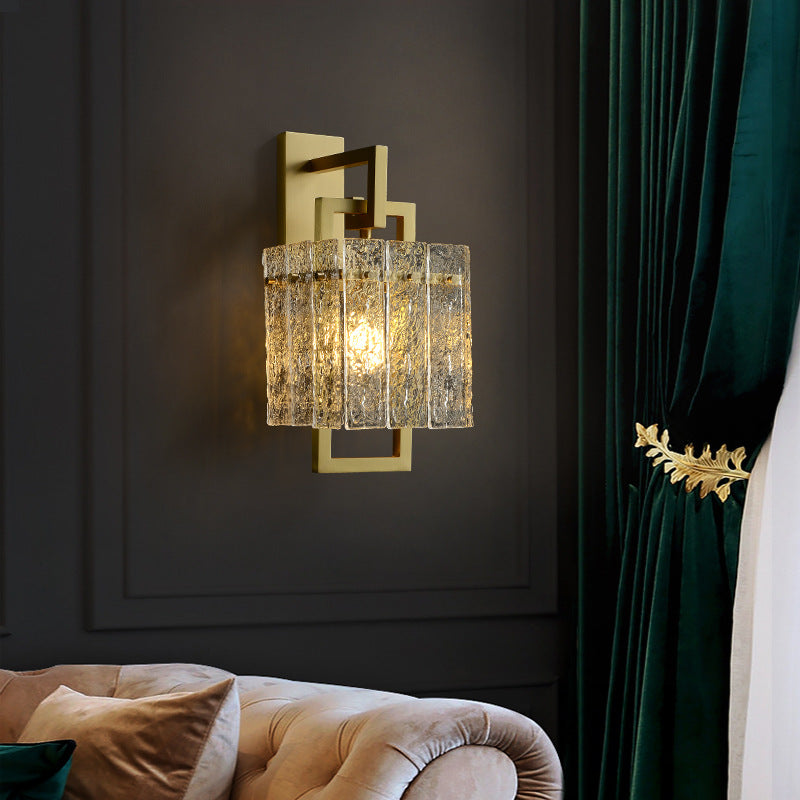
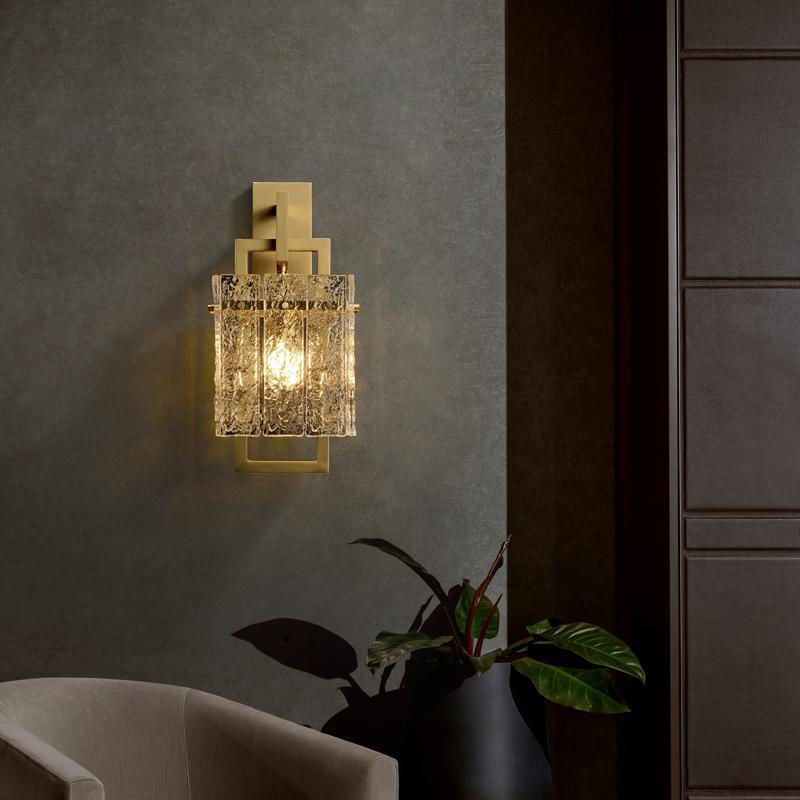
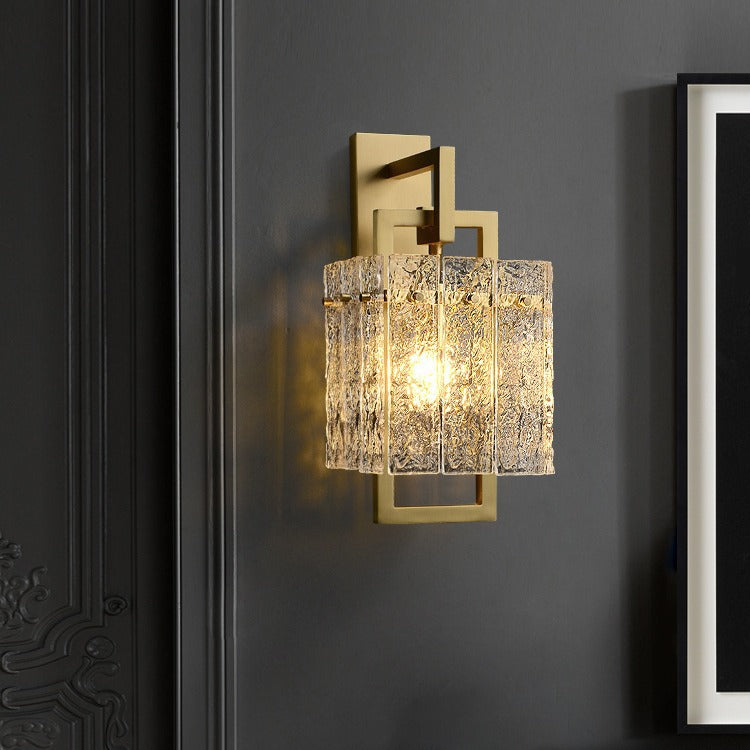

Water Ripple Glass Wall Lamp
$168.00 USD
Unit price perIn stock

Optic Wave Texture & Luminous Water Ripples
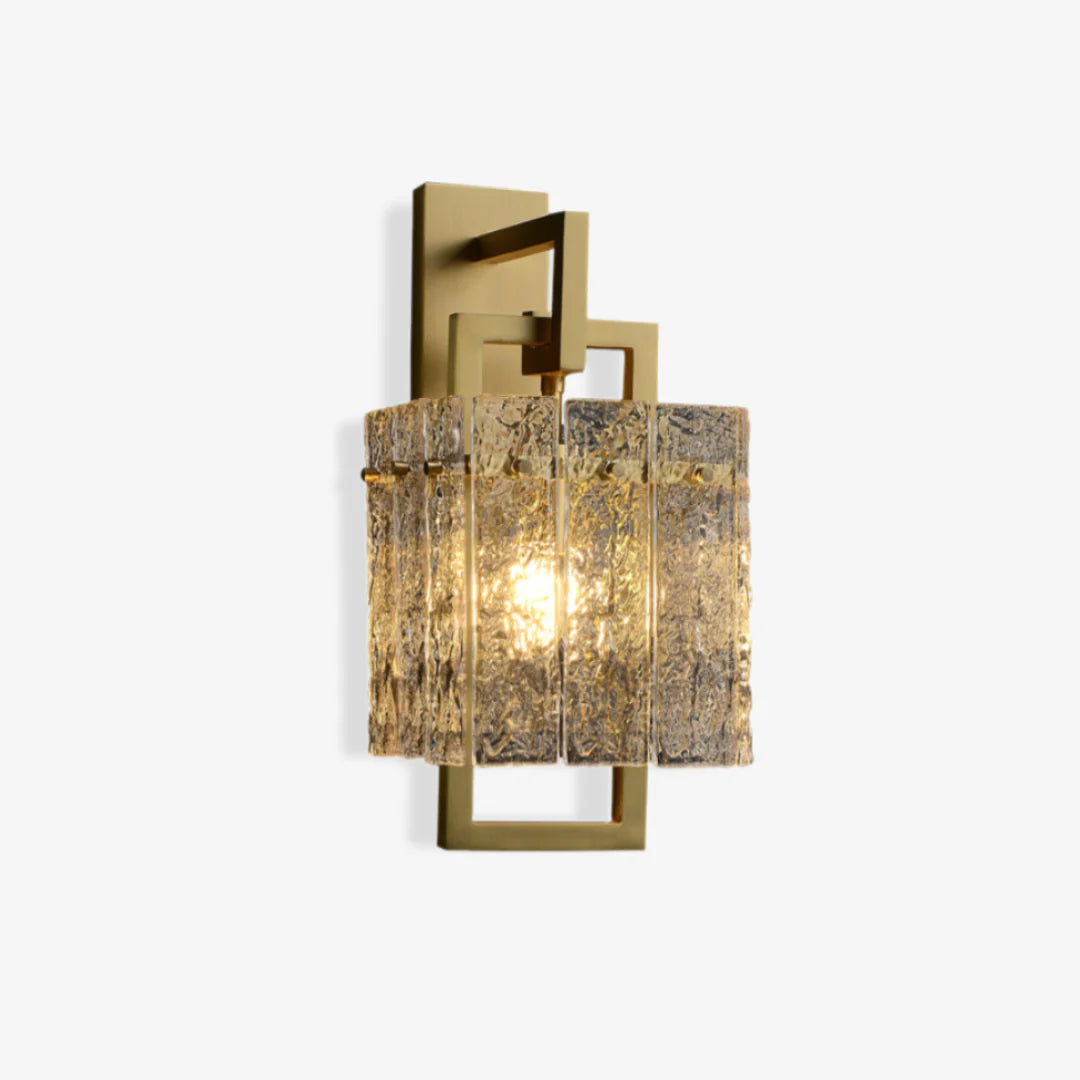
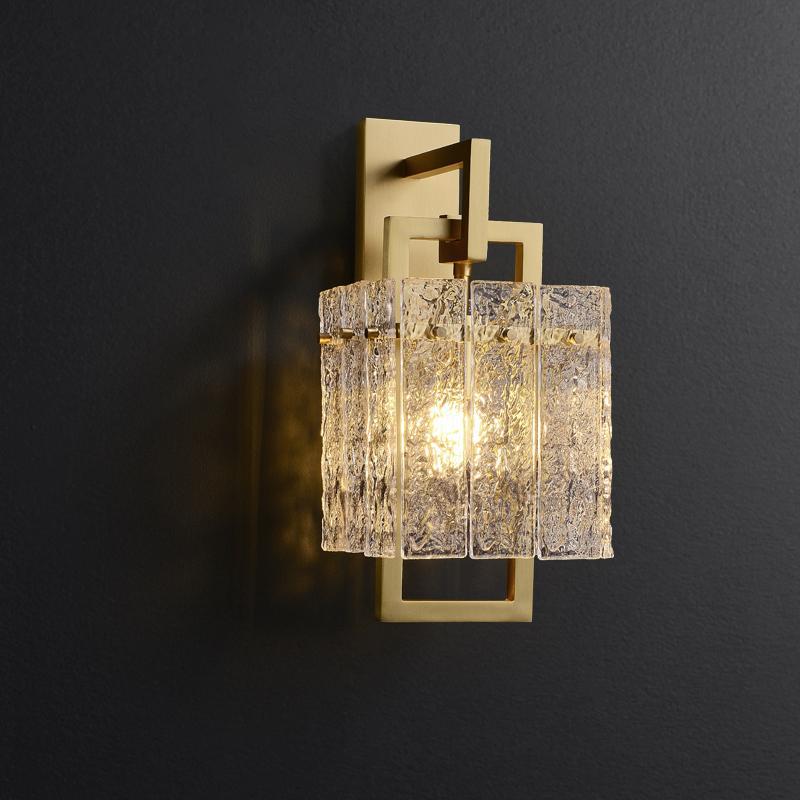
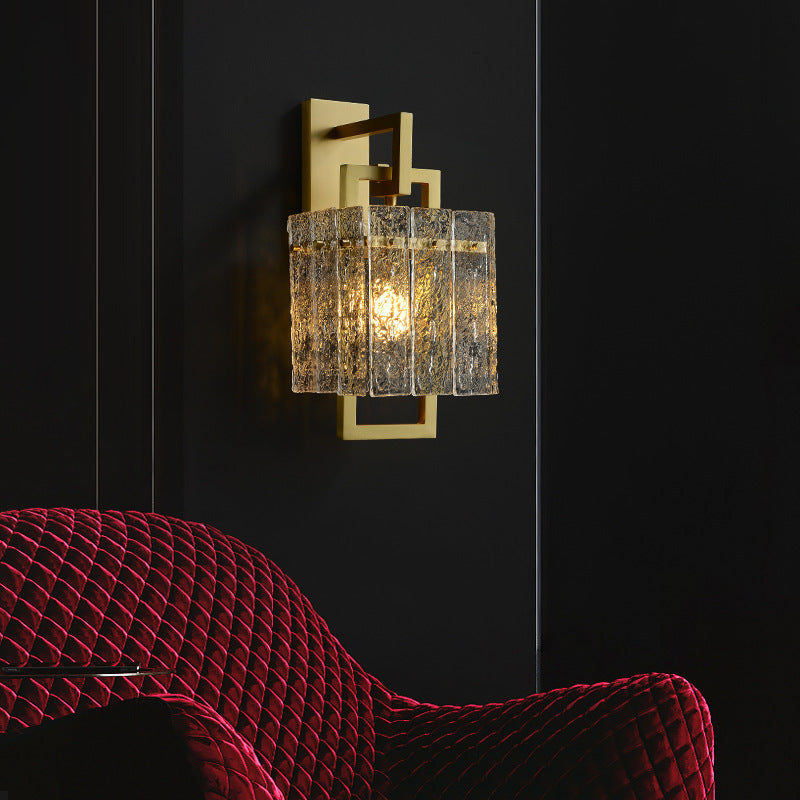
01 / DossierThe Water Ripple Glass Wall Lamp introduces fluid optical texture and refined architectural poise into modern living spaces. Featuring a molded water ripple glass diffuser mounted against a warm brass metal armature, this wall sconce refracts light into serene wave-like caustic patterns across surrounding walls. Perfect for bedside reading niches, hallway galleries, powder rooms, and dining alcoves, it delivers warm directional radiance with an indulgent, quiet luxury ambiance.
Craftsmanship & The Hallmarks
02 / DetailsCrafted with high-transmittance art glass molded with undulating wave ridges, casting dynamic aquatic caustic patterns onto vertical walls.
Heavy-gauge electroplated brass backplate with anti-oxidation sealing, providing enduring metallic luster and robust flush wall mounting.
Accommodates interchangeable E14 LED bulbs, supporting 3000K warm ambient, 4500K neutral, or 6000K daylight white illumination.
Engineered directional light distribution that shields direct glare while producing deep, evocative shadow play on surrounding surfaces.
Spatial Dialogue & Curated Placement
03 / CurationCompatible with universal AC 110–240V circuits. For detailed country-specific electrical standards and safety advice, consult our International Voltage Guide.
Product Dimensions
04 / Sizing∅ 8.3″ × H 15.4″
Dia 21 cm × H 39 cm

Technical Specifications
05 / SpecsFrequently Asked Questions
06 / FAQWhat type of bulb is recommended for this water ripple wall sconce? +
The sconce requires one E14 base bulb. We recommend clear LED filament bulbs or warm white 3000K LED bulbs to maximize the optic refraction and wave shadow patterns on your wall.
Is this wall lamp suitable for bathroom and powder room installation? +
Rated IP20 for indoor dry locations, it is suitable for dry powder rooms, guest half-baths, and vanity flanks away from direct water splashes and high humidity zones.
How should I clean the textured water ripple glass? +
Ensure power is switched off. Clean the textured glass exterior with a soft microfiber cloth lightly misted with glass cleaner. Wipe the brass armature with a clean, dry lint-free cloth.
Purchase Notes
We encourage customers to inquire as much as possible to ensure the shopping experience meets expectations.
If you have problems with customs clearance and shipping damage, please contact us by email. Email address: info@hiooz.com
Please be advised that we include an installation instruction sheet for this product in the packaging of each product. Please follow the instructions in the installation instruction sheet to install. To ensure a smooth installation and your safety, please wear gloves during the installation of the lamp.
Details:
1. For chandeliers, pendants, ceiling lamps, and wall lamps without sockets.
Hanging height: The standard hanging length is 59.0 inches (1.5 meters/150 cm). Need a custom size? Please contact us.
Sloped ceilings: All wire hanging lamps can easily adapt to sloping or uneven ceilings.
Size: Need a specific size not listed on the product page? Please contact us.
Installation steps:
1. Turn off the power: Find the circuit breaker or fuse box that controls the power to the installation area. Turn off the power supply to avoid any electrical hazards during the installation process.
2. Mark the mounting holes: Place the included mounting bracket against the wall at the desired mounting height. Mark the location of the screw holes on the wall with a pencil. Make sure the bracket is level.
3. And insert anchor bolts: Use an electric drill to drill holes at the marked locations on the wall. Insert the included anchor bolts into the drilled holes to provide a secure fixing point for the screws.
4. Mount the bracket: Align the holes on the mounting bracket with the anchor bolts on the wall. Screw the screws through the bracket holes and into the anchor bolts. Tighten the screws with a screwdriver to securely fix the bracket to the wall.
5. Connect the wires: Carefully remove the cover of the LED light and enter the wiring cavity. Identify the black (live/live), white (neutral) and green or bare copper (ground) wires and connect them to the existing circuit.
6. Final inspection: After the installation is completed, turn on the light switch. If the brightness is OK, congratulations, you are done!!
Note: For floor lamps and table lamps, just plug the plug into the corresponding socket and turn on the switch.
If there are any questions during the installation process, to ensure that your lamp is installed smoothly, please contact us in time and we will have professional people to reply.
Share Your Idea
Have something specific in mind? Tell us your vision and we’ll bring it to life.
Flexible Design Options
We can adjust size, shape, materials, and finishes to suit your space perfectly.
Tailored Lighting Effect
Customize brightness, color temperature, and overall ambiance to match your needs.
One-of-a-Kind Piece
Every custom light is made just for you — unique and not mass-produced.
Personal Support
Our team will work closely with you to refine every detail before production.
More About Custom Lighting Service