





Concrete Pleated Pendant Lamp
In stock


Textured Cement Pendant Light With Natural Wood Detailing
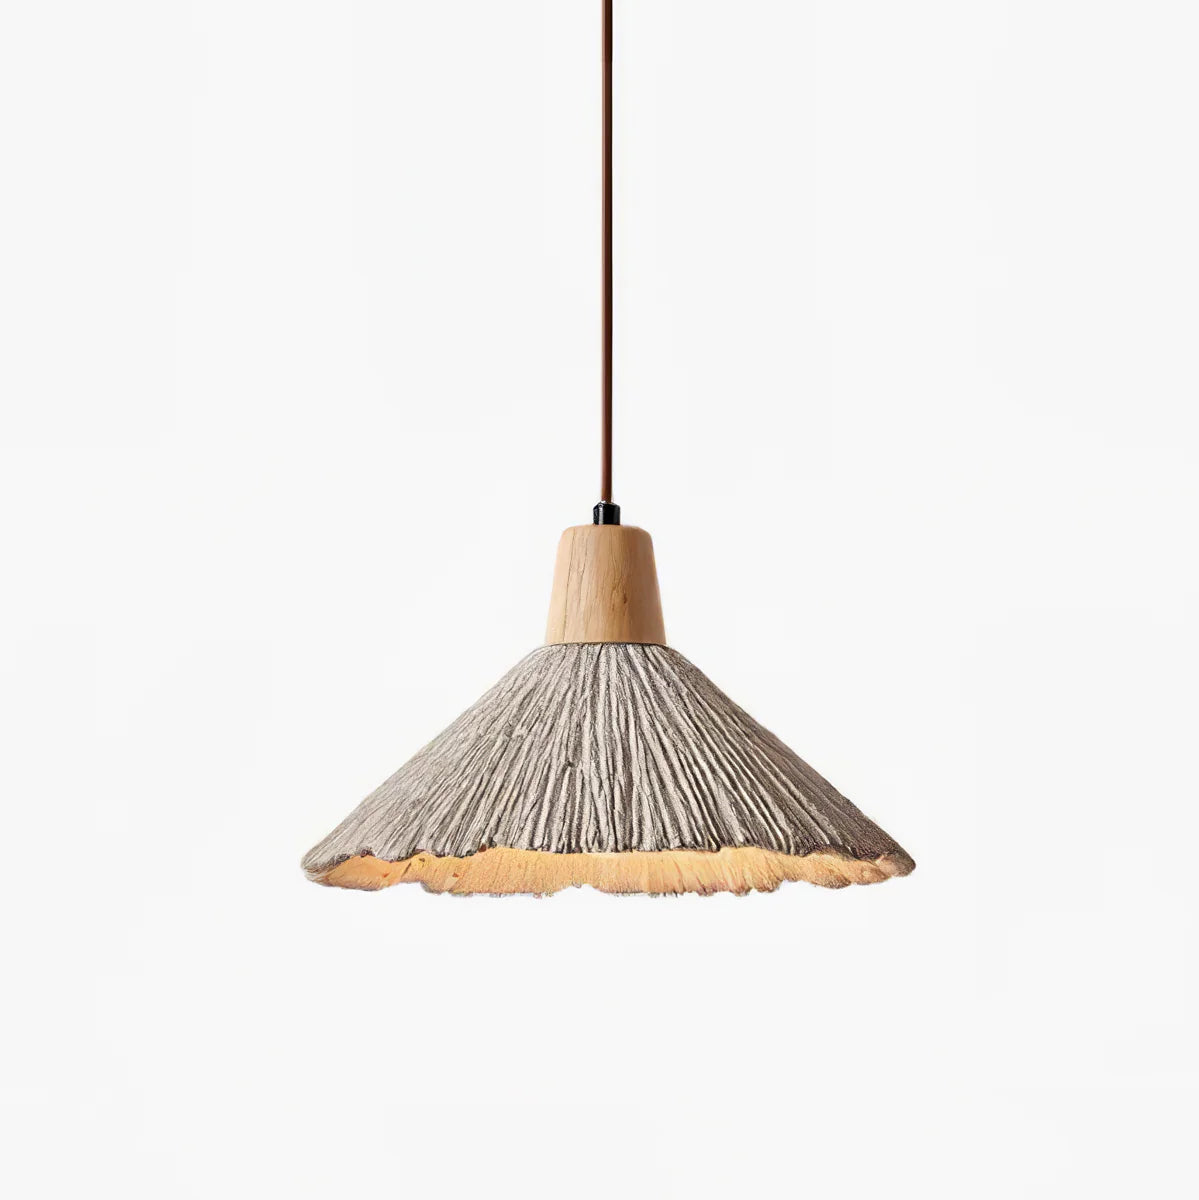
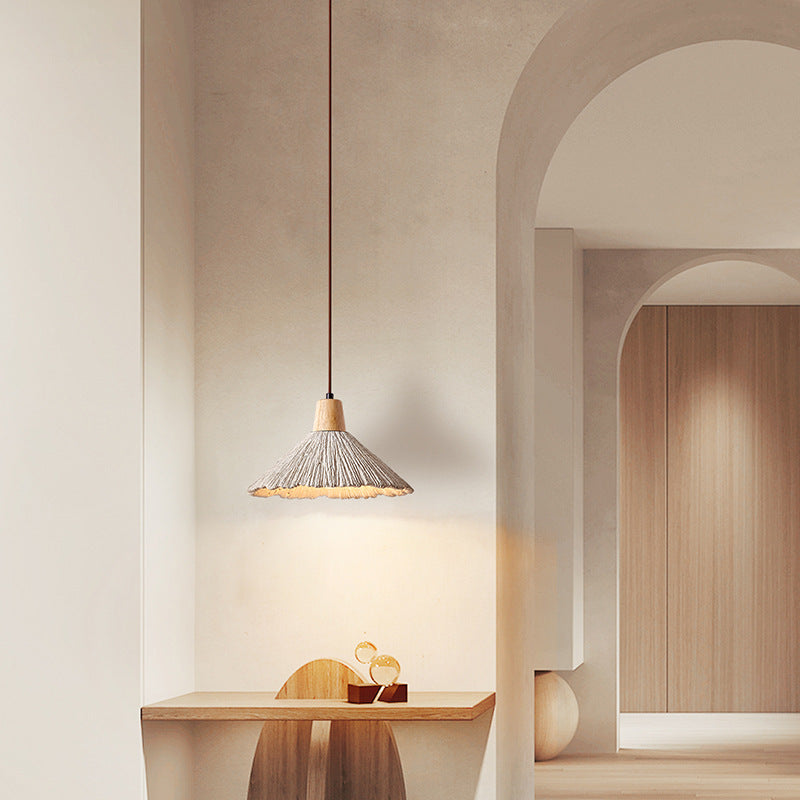
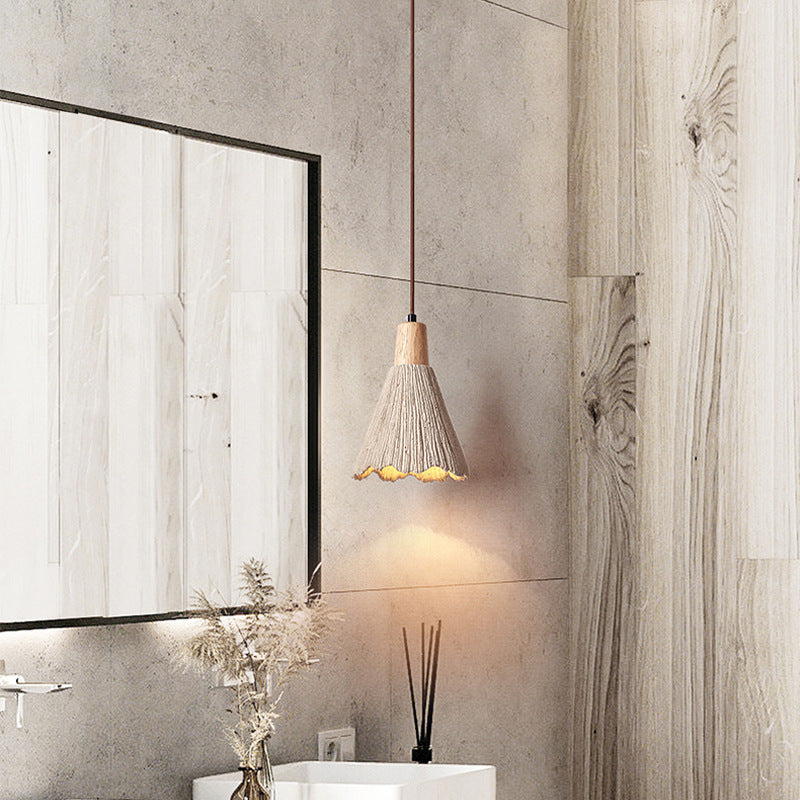
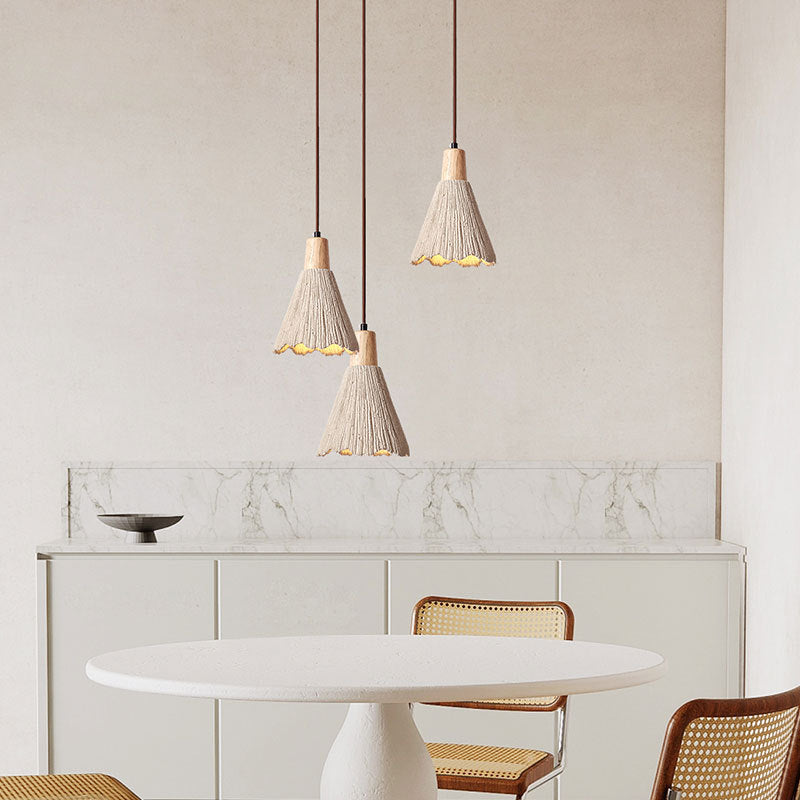
The Concrete Pleated Pendant Lamp combines a textured cement shade with natural wood detailing to bring a warm, architectural character to modern interiors. Its pleated surface creates layered texture and subtle shadows when illuminated, while the pendant profile works well above dining tables, kitchen islands, living areas, bedrooms, and other indoor spaces.
Design Concept
The design combines a pleated concrete shade with natural wood accents, creating a balance between raw material texture and refined geometric form. The vertical pleats add depth to the pendant light while giving the shade a structured silhouette. When switched on, the textured surface interacts with the light to create subtle changes in shadow and brightness.
Pleated Concrete Shade
Vertical pleats create a layered surface with architectural texture and add visual depth to the pendant light.
Natural Wood Detail
Natural wood elements introduce a warmer material contrast against the cool, textured concrete shade.
Downward Illumination
The downward light direction focuses illumination beneath the pendant, making it suitable for dining tables, counters, and other functional areas.
Materials & Construction
The Concrete Pleated Pendant Lamp uses metal, wood, and cement to create a structured lighting fixture with a tactile surface. The cement shade forms the main visual element, while the wood component adds natural warmth and the metal structure supports the pendant assembly.
Due to the natural air-drying process of cement, slight demolding marks, air bubble holes, surface variations, or minor chipping may occur. These characteristics are inherent to the material and contribute to its raw, textured appearance.

If you have any questions about our products, feel free to reach out to us, and we will respond within 12 hours.
Dimensions
Size A: ∅ 10.2″ x H 6.3″ / Dia 26cm x H 16cm
Size B: ∅ 6.3″ x H 8.3″ / Dia 16cm x H 21cm
Size C: ∅ 2.8″ x H 16.5″ / Dia 7cm x H 42cm
Size A Dimension Drawing

Size B Dimension Drawing

Size C Dimension Drawing

Specifications
Purchase Notes
We encourage customers to inquire as much as possible to ensure the shopping experience meets expectations.
If you have problems with customs clearance or shipping damage, please contact us by email: info@hiooz.com
Please be advised that we include an installation instruction sheet for this product in the packaging of each product. Please follow the instructions in the installation instruction sheet to install. To ensure a smooth installation and your safety, please wear gloves during the installation of the lamp.
Details:
1. For chandeliers, pendants, ceiling lamps, and wall lamps without sockets.
Hanging height: The standard hanging length is 59.0 inches (1.5 meters/150 cm). Need a custom size? Please contact us.
Sloped ceilings: All wire hanging lamps can easily adapt to sloping or uneven ceilings.
Size: Need a specific size not listed on the product page? Please contact us.
Installation steps:
1. Turn off the power: Find the circuit breaker or fuse box that controls the power to the installation area. Turn off the power supply to avoid any electrical hazards during the installation process.
2. Mark the mounting holes: Place the included mounting bracket against the wall at the desired mounting height. Mark the location of the screw holes on the wall with a pencil. Make sure the bracket is level.
3. And insert anchor bolts: Use an electric drill to drill holes at the marked locations on the wall. Insert the included anchor bolts into the drilled holes to provide a secure fixing point for the screws.
4. Mount the bracket: Align the holes on the mounting bracket with the anchor bolts on the wall. Screw the screws through the bracket holes and into the anchor bolts. Tighten the screws with a screwdriver to securely fix the bracket to the wall.
5. Connect the wires: Carefully remove the cover of the LED light and enter the wiring cavity. Identify the black (live/live), white (neutral) and green or bare copper (ground) wires and connect them to the existing circuit.
6. Final inspection: After the installation is completed, turn on the light switch. If the brightness is OK, congratulations, you are done!!
Note: For floor lamps and table lamps, just plug the plug into the corresponding socket and turn on the switch.
If there are any questions during the installation process, to ensure that your lamp is installed smoothly, please contact us in time and we will have professional people to reply.
Share Your Idea
Have something specific in mind? Tell us your vision and we’ll bring it to life.
Flexible Design Options
We can adjust size, shape, materials, and finishes to suit your space perfectly.
Tailored Lighting Effect
Customize brightness, color temperature, and overall ambiance to match your needs.
One-of-a-Kind Piece
Every custom light is made just for you — unique and not mass-produced.
Personal Support
Our team will work closely with you to refine every detail before production.
More About Custom Lighting Service


