


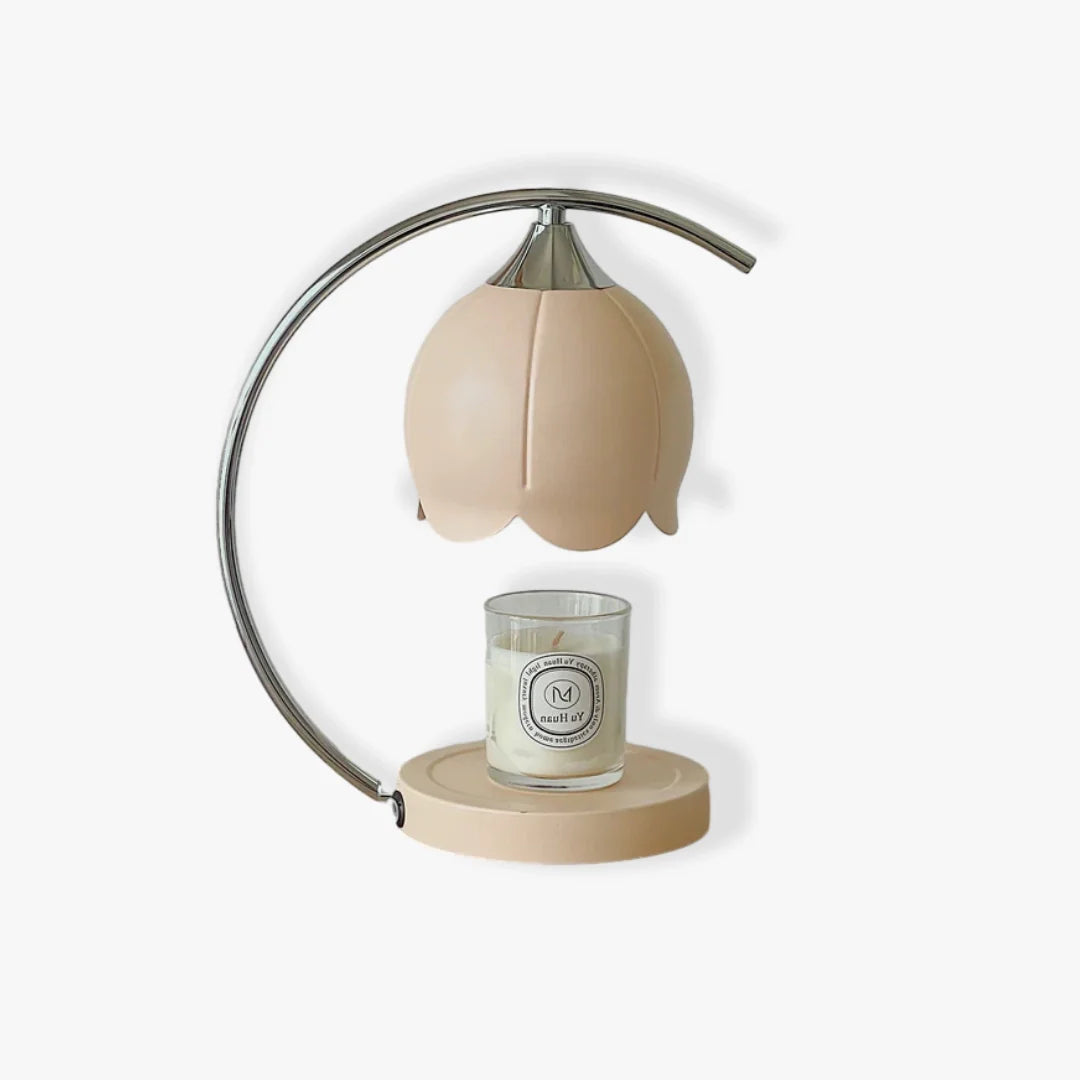

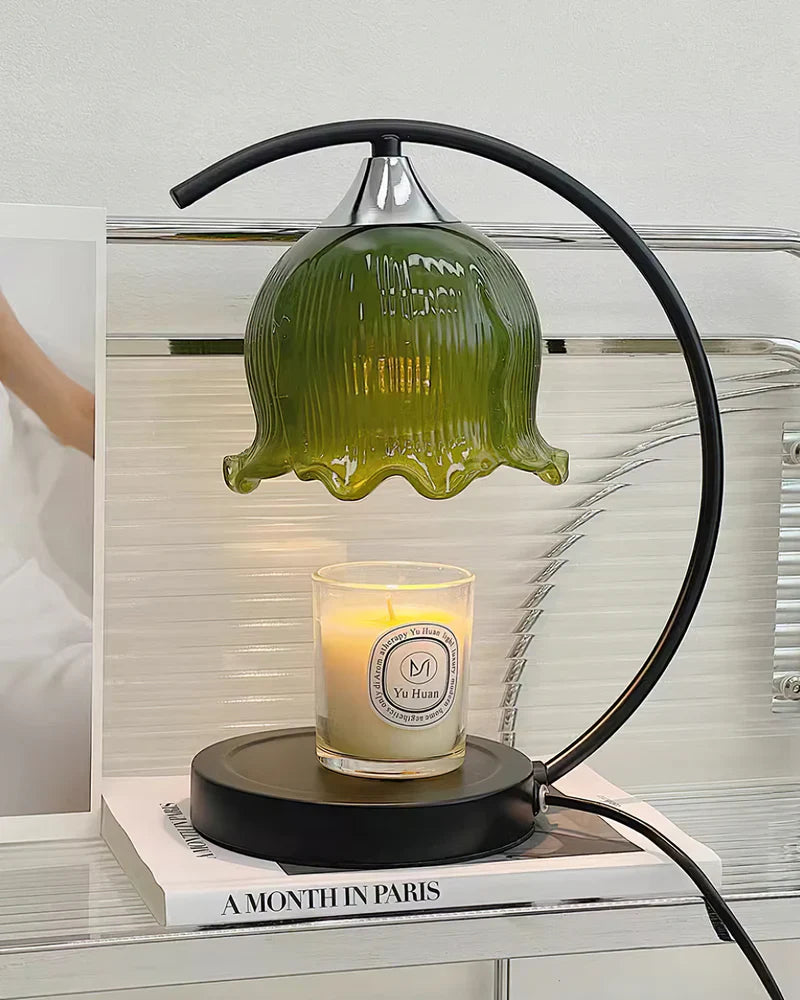
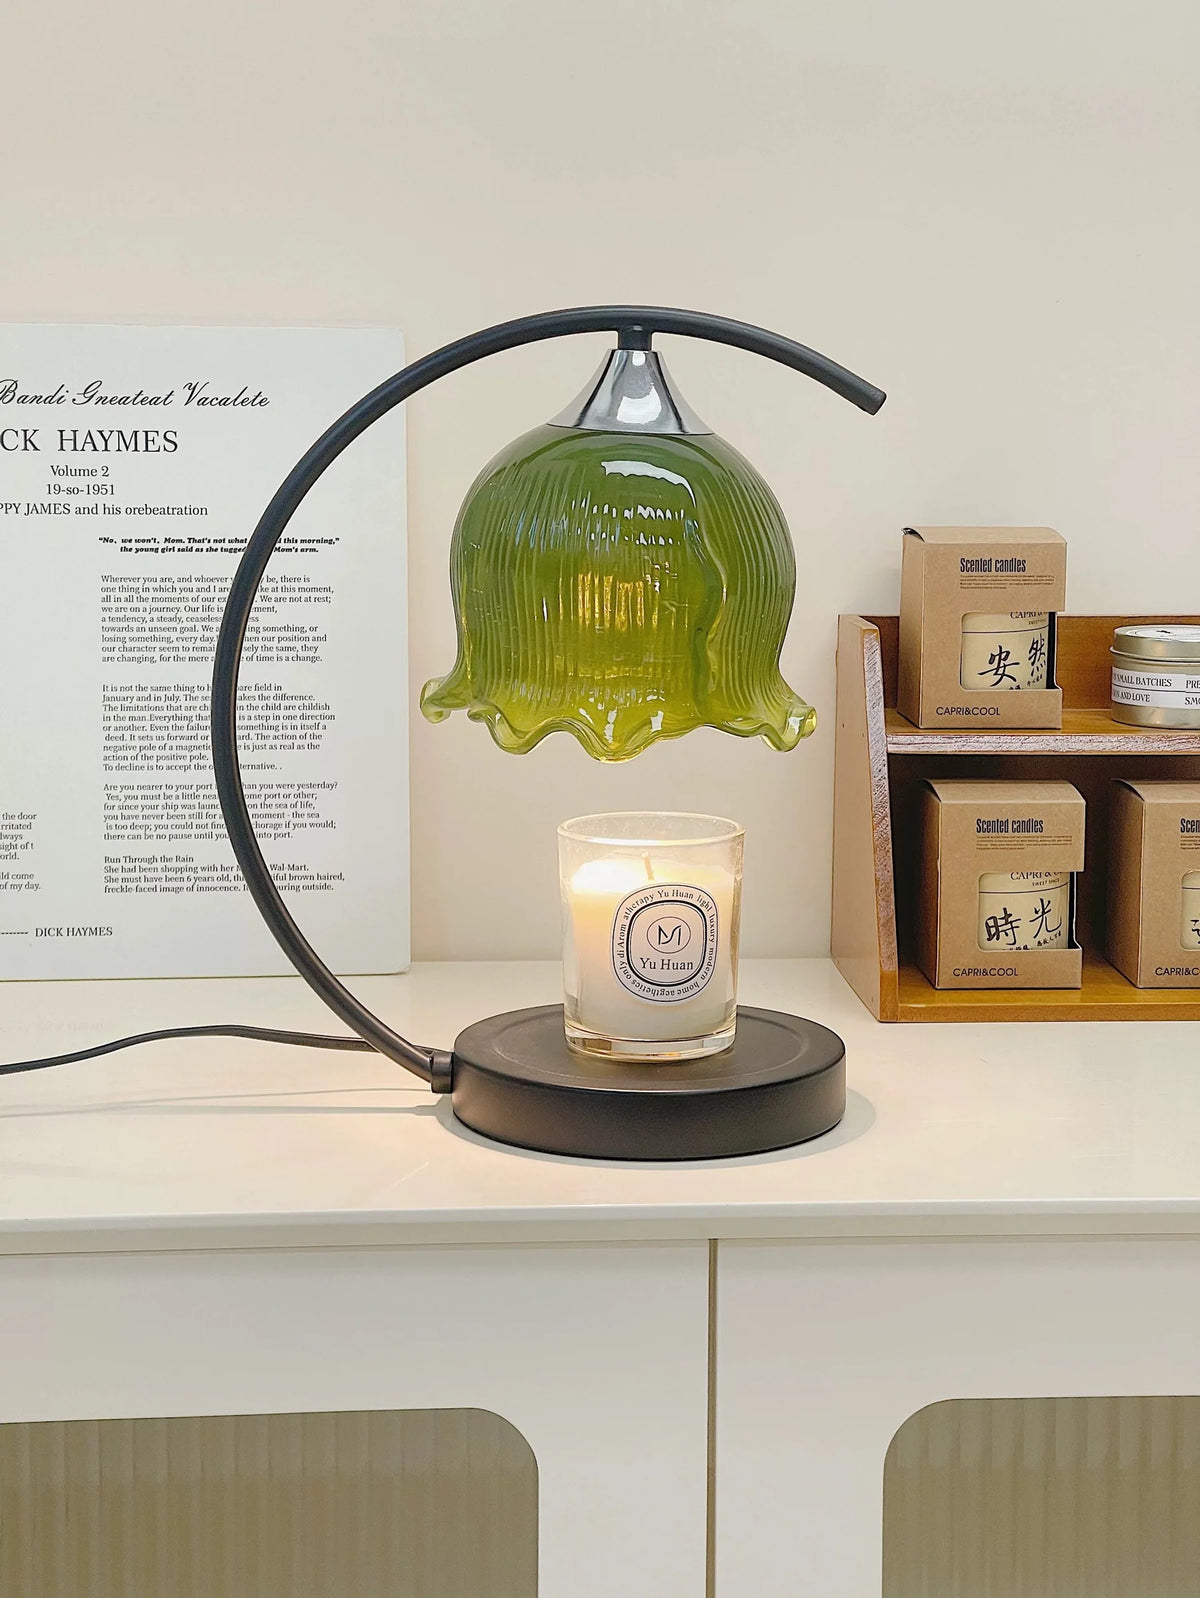
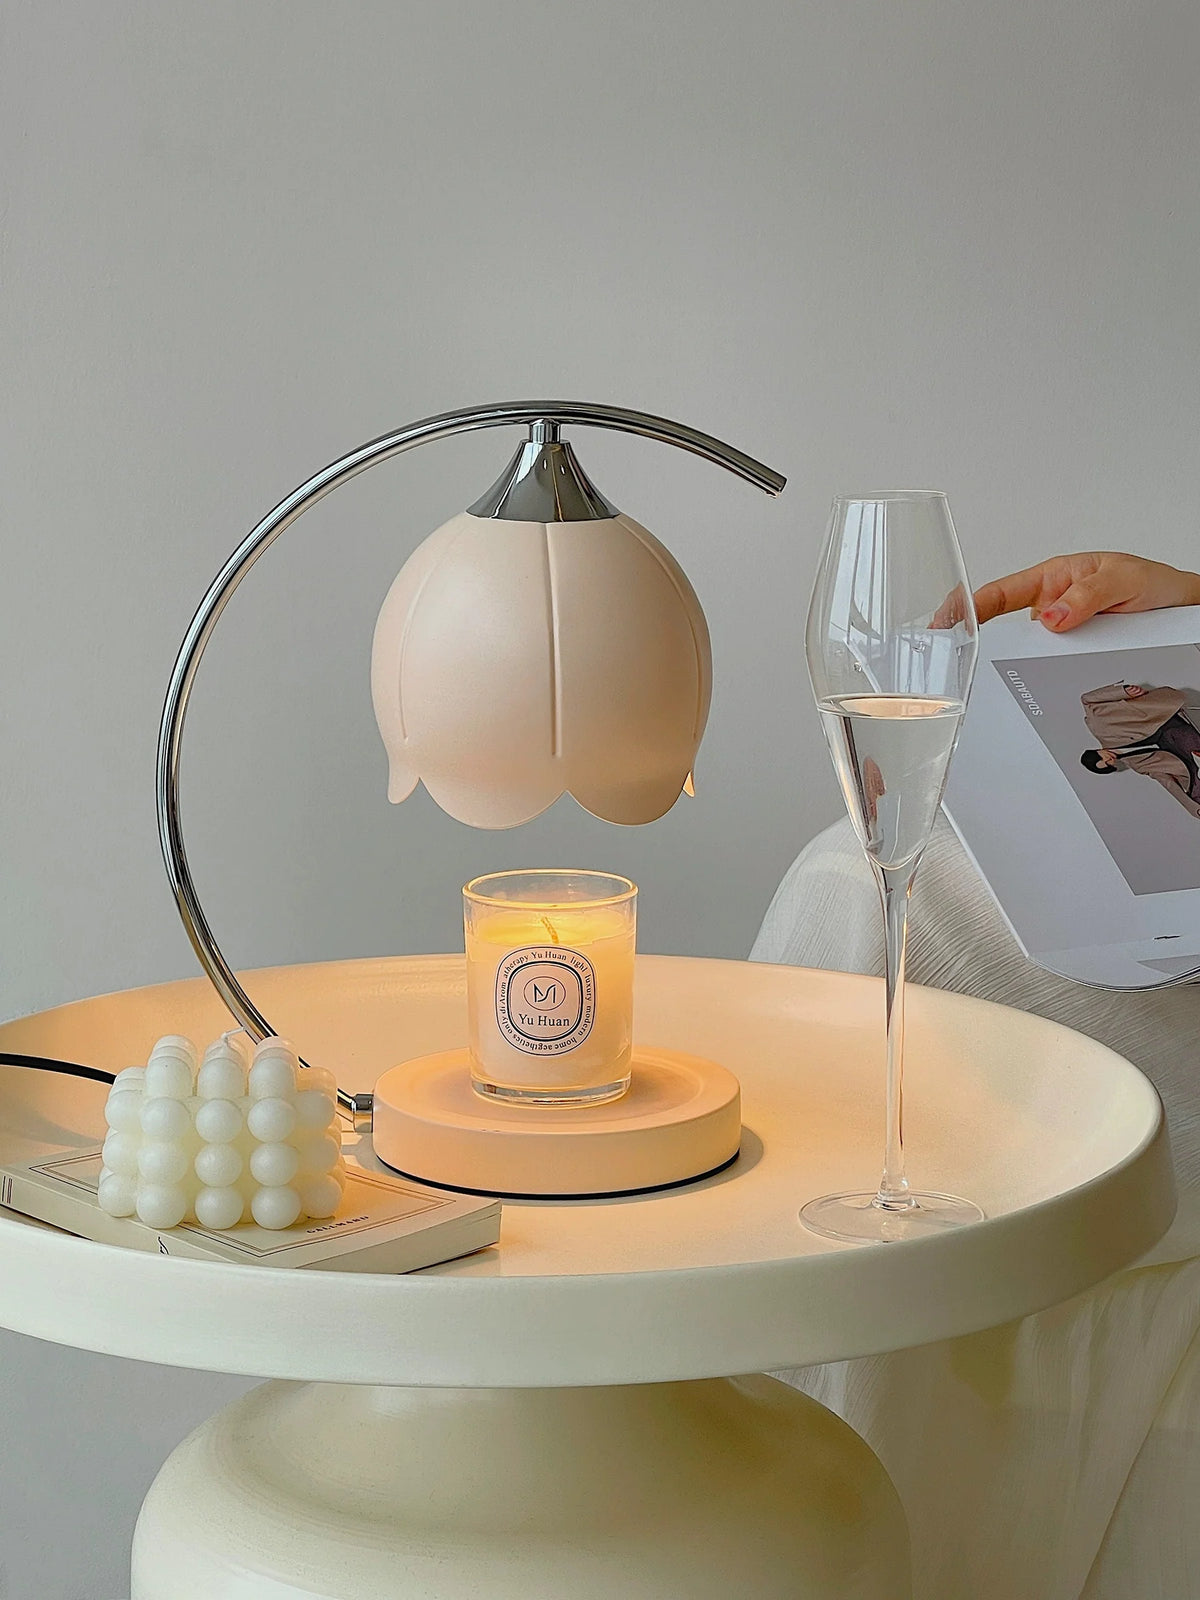


Tulip Candle Warmer Table Lamp
$192.00 USD
Unit price perIn stock

Botanical Bloom & Flameless Aroma
The Tulip Candle Warmer Table Lamp transforms home fragrance into a serene ritual. Designed in the graceful silhouette of a blooming tulip flower, it delivers focused thermal illumination that gently melts jar candles from the top down—diffusing aroma cleanly without an open flame.
Sculpted from spun metal and fluted art glass, this dual-function accent piece serves as both a cozy bedside nightstand lamp and a fragrance warmer for modern, romantic, and retro interiors.
Dimensions & Scale Guide

The Design Hallmarks
Melt jar candles without open flames or soot. Enjoy soothing aromatherapy safely around family, pets, and quiet reading nooks.
Delicate bell-shaped translucent glass petal shade directs warming heat downward while casting a soft ambient glow across the room.
Even thermal distribution helps extend candle lifespan while preventing uneven tunneling and excessive wax residue.
Available in Sage Green, Baby Pink, Matte Black, and Polished Chrome to complement diverse bedroom and vanity decors.
Technical Specifications
| Style | Modern, French Romantic, Retro Vintage, American Accent |
| Material | Spun Metal Base & Stem, Fluted Glass Lampshade |
| Bulb Base | GU10 Halogen Bulb (1× included for heating function) |
| Color Temp | Warm Glow ~3000K (Standard thermal ambiance) |
| Light Direction | Downward Localized Thermal & Ambient Diffusion |
| Voltage | AC 110–240V (Equipped with appropriate regional plug) |
| Finishes | Sage Green, Baby Pink, Matte Black, Polished Chrome |
| Control | Inline Power Switch on power cord |
| Environment | Indoor Dry Locations (IP20 rated) |
| Certifications | UL Listed, CE, CCC certified electrical components |
Frequently Asked Questions
How does the candle warmer lamp work without lighting the wick?
Do I need to buy a special bulb separately?
Can standard LED bulbs be used for melting candles?
What candle jar sizes fit under the lamp?
Safety Care & Concierge Support
Safety Tip: Allow the melted wax pool to cool completely before moving the lamp or candle jar. Wipe the glass shade with a soft dry cloth when unpowered.
Have questions about bulb replacements or custom plug types? Contact our team at info@hiooz.com. We reply within 12 business hours.
Please be advised that we include an installation instruction sheet for this product in the packaging of each product. Please follow the instructions in the installation instruction sheet to install. To ensure a smooth installation and your safety, please wear gloves during the installation of the lamp.
Details:
1. For chandeliers, pendants, ceiling lamps, and wall lamps without sockets.
Hanging height: The standard hanging length is 59.0 inches (1.5 meters/150 cm). Need a custom size? Please contact us.
Sloped ceilings: All wire hanging lamps can easily adapt to sloping or uneven ceilings.
Size: Need a specific size not listed on the product page? Please contact us.
Installation steps:
1. Turn off the power: Find the circuit breaker or fuse box that controls the power to the installation area. Turn off the power supply to avoid any electrical hazards during the installation process.
2. Mark the mounting holes: Place the included mounting bracket against the wall at the desired mounting height. Mark the location of the screw holes on the wall with a pencil. Make sure the bracket is level.
3. And insert anchor bolts: Use an electric drill to drill holes at the marked locations on the wall. Insert the included anchor bolts into the drilled holes to provide a secure fixing point for the screws.
4. Mount the bracket: Align the holes on the mounting bracket with the anchor bolts on the wall. Screw the screws through the bracket holes and into the anchor bolts. Tighten the screws with a screwdriver to securely fix the bracket to the wall.
5. Connect the wires: Carefully remove the cover of the LED light and enter the wiring cavity. Identify the black (live/live), white (neutral) and green or bare copper (ground) wires and connect them to the existing circuit.
6. Final inspection: After the installation is completed, turn on the light switch. If the brightness is OK, congratulations, you are done!!
Note: For floor lamps and table lamps, just plug the plug into the corresponding socket and turn on the switch.
If there are any questions during the installation process, to ensure that your lamp is installed smoothly, please contact us in time and we will have professional people to reply.
Share Your Idea
Have something specific in mind? Tell us your vision and we’ll bring it to life.
Flexible Design Options
We can adjust size, shape, materials, and finishes to suit your space perfectly.
Tailored Lighting Effect
Customize brightness, color temperature, and overall ambiance to match your needs.
One-of-a-Kind Piece
Every custom light is made just for you — unique and not mass-produced.
Personal Support
Our team will work closely with you to refine every detail before production.
More About Custom Lighting Service
